A WordPress Multisite network is the right place to manage separate websites under one dashboard. Many blog owners, schools, and businesses follow this approach. Welcome to the detailed guide about enabling Multisite in WordPress!
Introduction to WordPress Multisite
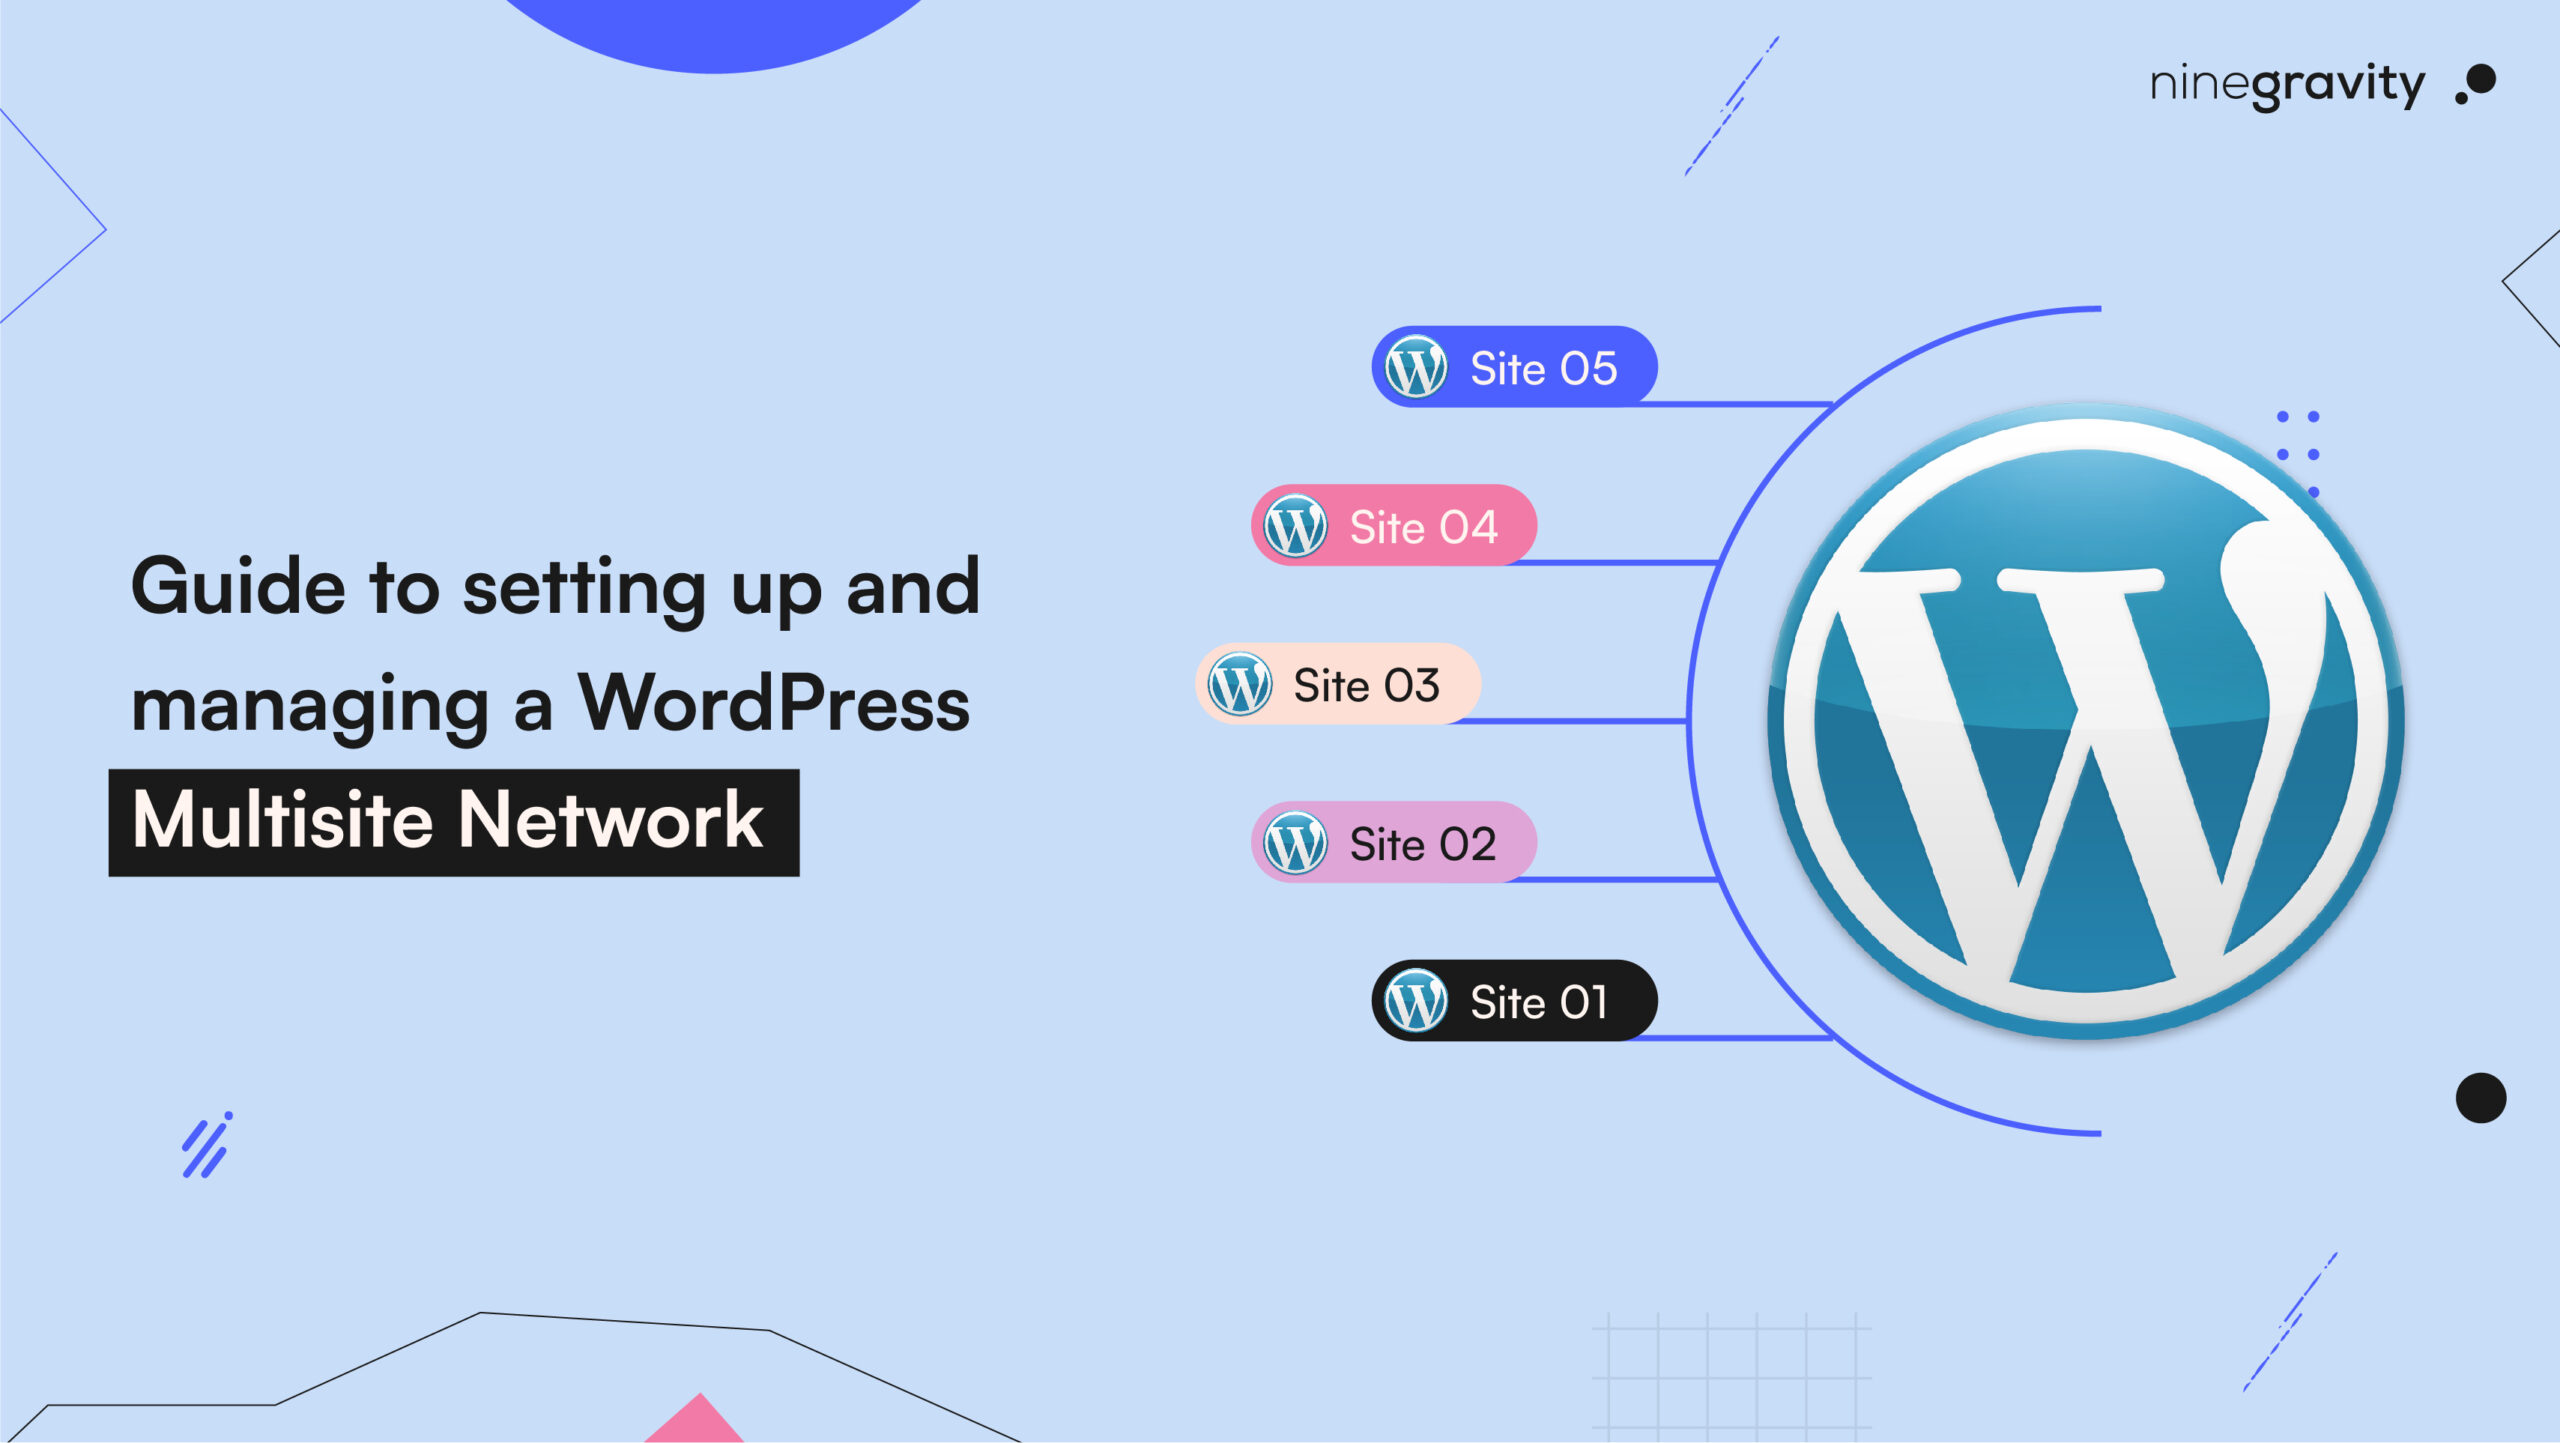
Thanks to WordPress’s Multisite network, you can manage multiple WordPress blogs or websites from a single installation.
Users can have a singular username and password while providing access to others to create their blogs or sites on their custom domain.
Its advanced settings allow room for customization of each blog/site. So now you can create pages instantly and efficiently without managing multiple dashboards.
Using Multisite for Client Projects
You can use a WordPress Multisite Network for sites with similar structures and content requirements. For example, businesses with multiple branches or landing pages for different ventures can work great on the network.
Government and non-profit organizations can use the network for different departments, regions, and locations. Schools often use it to allow students to create their own websites or school servers and manage different departments.
Blog owners find this feature handy for experimenting and publishing many ideas under the same admin dashboard.
Digital sites that work on shared themes and plugins like magazines also find it easier to establish themselves on the WordPress Multisite Network.
Benefits of Using Multisite Network on WordPress
- WordPress Multisite is a boon for network administrators. They seamlessly manage multiple websites from a single dashboard.
- Multiple WP admins can access the same domain and still have a personal website customized to their needs and desires.
- Download one plugin or theme and apply the effect on all the sites or a selected few without performing manual action.
- Update WordPress, its plugins, and/or themes simultaneously for all the blogs/sites using the network admin panel.
Enabling Multisite in WordPress (Set-Up Process)
Every WordPress installation has an option to switch to the Multisite network.
- Follow the standard procedure for installing and setting up WordPress.
- Enable the Multisite feature on the new installation or add it to your WP interface.
(Do not forget to create a WordPress backup of your site before enabling the feature on an existing interface) - Connect the FTP client or cPanel file manager to your site.
- Open the wp-config.php file for editing.
- You will see the line /* That’s all, stop editing! Happy publishing. */
- Add the following code before that line:
/* Multisite */
define( 'WP_ALLOW_Multisite', true );- Your wp-config.php file is ready to be uploaded to the server
Setting Up Multisite in WordPress
The above code will enable the Multisite network in your WordPress interface. However, you still need to complete the set-up process.
- Deactivate all your plugins if you use the network on an existing WordPress site.
Plugins > Installed Plugins > Select all the plugins > Bulk Actions > Deactivate > Apply
- Go to the Tools Page > Network Setup to configure the Multisite network.
- Don’t worry! Apache’s mod_rewrite module has already been installed and enabled for all the WP hosting providers.
- Specify which domain structure you will use for your sites in the network.
- Provide a title for your network and verify if the email in the Network Admin Email is correct.
- Select the Install option.
- Use the FTP client or the File Manager in the cPanel to copy and paste WordPress’s code to add to your wp-config.php and .htaccess files, respectively.
- Just below the previous code in the wp-config.php file, add the code shown to you.
- Then, edit the .htaccess files to delete the existing WP rules and add the new code for the Multisite network.
- Save the changes and re-upload the edited files to the server.
- To access the Multisite network, log in again to your WordPress site.
Configuring Network Settings
To configure your Multisite network settings:
- Log into the WP admin area.
- Switch to the network dashboard settings.
- (for changing network settings, configuring required setups, and adding new sites).
- Navigate to the Multisite network dashboard by going to My Sites > Network Admin > Dashboard.
- You can use the Right Now widget for creating new sites and adding new users.
- Go to the admin sidebar > Settings and configure network settings.
- The site title and admin email address will automatically fill in the information based on the data you entered during the setup process.
Creating and Managing Sites
By using domain mapping, users can create custom domains of their own. Hence, every site in the Multisite network will have a separate domain.
All you have to do is update the nameserver records in your domain registrar account. Let’s simplify this:
- Go to your Multisite’s network admin dashboard.
- Sites > Add New
- Enter your site address, the title, language, and the admin business email address.
- Go to Add Site and create your site.
- Sites > All sites, select the Edit link below the address you just added.
- Once the Site Edit Screen opens, add the custom domain for the respective site in the Site Address Field.
- The built-in domain mapping will automatically map your custom domain to your site address.
- Click Save Changes once done.
- You can repeat the process to add multiple custom domains.
Using Domain Mapping
- Go to your Hosting Dashboard > Domains Sections > Parked Domains > Add your Custom Domain and repeat the process for all other domains to add them to your hosting account.
- If your hosting provider is the domain registrar, you are okay without updating your DNS server; however, if your domain is registered elsewhere, you need to update your DNS information to point it to your hosting account.
- Once updated, you can see each domain’s child site in the WP Multisite network.
- Tasks like installing plugins and themes or updating WP can be performed from the root side dashboard.
- For individual sites, go to Sites > All Sites > Dashboard of the site you want to work on.
Managing Users in Multisite
The network admin can add new users to the mix as site admins.
- Go to the Network Admin Settings > Users > Add New.
- Create the username of the new user and add their email address.
- Select Add User, and the users will receive an email inviting them to set a password.
- To manage the permissions of the new users, go to Users > New Users.
- Site admins can add new side admins by going to Users > Add New.
- Always keep the Skip Confirmation Email field unchecked to notify new users about the Multisite network.
Network Administration Best Practices
- Use a centralized dashboard to manage all the sites in one place. It will help you seamlessly regulate updates, backups, security checks, and other important tasks.
- Standardizing plugins and having the same theme across all your sites will create consistency. It will also help you manage security patches and updates.
- Backups, updates, and performance checks can use the help of automation tools. Using them wherever possible will relieve you of repetitive work and save time.
- A version control system will help you track changes, restore to previous versions if necessary, and make collaboration easier.
- WordPress Multisite or headless CMS will help you manage content across separate websites. Make good use of the content management systems to streamline content creation and management.
- Google Analytics is a handy tool for monitoring site traffic and engagement. You will find plenty of improvement opportunities and identify trends more easily.
- Have a backup strategy to restore your sites if a data loss or security breach occurs. You can choose to have a weekly or daily backup with storage either on a separate or a cloud service.
- Use a staging environment to test plugins, themes, and updates. It will allow you to identify and resolve issues before going to the WordPress live site.
- Keep a consistent check on the site’s uptime, performance, and speed.
- Put multi-factor security best practices in place, like using strong passwords and constantly changing them, updating your themes and plugins on time, checking for more updates, and implementing two-factor authentication. Using security plugins will add additional protection.
Installing Themes and Plugins in Multisite
Individual site administrators can not install themes or plugins in a Multisite network. However, when the network admin installs the plugins and themes, they are applicable on all the sites.
Guide to Installing Themes in Multisite
- My Sites > Network Admin > Themes
- You will come across the list of installed themes on the network.
- To make any theme applicable to other sites, select the Network Enable option.
- You can also select the Network Disable option under a particular theme to disable the already-enabled theme.
- Follow the standard procedure for adding a new theme by clicking on Add New and installing it.
Installing Plugins in Multisite
Follow the same procedure for plugins as you did for the themes by going to My Sites > Network Admin > Plugins.
Pro Tip: For customizing Multisite sites, while you have domain mapping, you can also use WordPress plugins, themes, and widgets. Install and configure plans to match each site’s branding, colors, layouts, and site-specific widgets. Adding content like pages, posts, and navigation menus can also personalize each site to serve a different purpose.
Optimizing Multisite Performance
Optimizing multisite performance can help you implement healthy rules to manage high traffic:
- Choose a reliable cloud-based hosting provider with sufficient resources to seamlessly handle the traffic.
- Use a caching plugin like W3 Total Cache or WP Super Cache to optimize Multisite performance. It will reduce the page load times, lighten the weight on the server, and work towards enhancing the overall user experience.
- Compress images while maintaining their quality to reduce their file size.
- You can also use lazy loading for images so they only load when they appear on the other screen.
- Minify the CSS and JavaScript files to increase the page load speed.
- Incessantly optimize the database structure by scheduling cleaning and repair tasks. Plugins like WP-Optimize or WP Sweep can do that for you. Another plugin, DB Cache Reloaded Fix, helps perform caching tasks for database queries, speed, and performance.
Backup and Restore in Multisite
Since every site on the network is connected, all of them will disappear if one does. While the Multisite option holds much power, you can take it back by following the simple rules of keeping a backup.
How to Backup a WordPress Multisite
- Install a backup plugin like Duplicator Pro, Snapshot Pro, BlogVault, etc. (one that supports Multisite networks).
- Install and activate the chosen backup plugin to set up the backup schedules (e.g., daily, weekly). It will automate the process.
- Create a complete backup package of your entire Multisite network. The backup should include all subsites, their databases, and core files.
- Set a disaster recovery point; they will allow you to restore your network on time.
- Manually test the process and ensure you have created a backup schedule before calling it a day.
How to Restore a WordPress Multisite
- Access the Backup Plugin or its dashboard
- Select the backup package you want to restore and confirm if it has all the files you would want.
- Follow the backup plugin instructions to restore the network.
- Once done, test all the links and verify the content and functionality across the Multisites.
Using Multisite with WooCommerce
If you already have an existing WooCommerce store and want to shift it to the Multisite Network, then follow these steps:
- Create a fresh backup of your current WordPress site before doing anything.
- Go to Plugins > Add New > WooCommerce > Install Now > Activate (If you don’t already have it.)
Make changes in the wp-config.php file! Above the /* That’s all, stop editing! Happy blogging. */ line, add the following code:
<!-- wp:paragraph -->
<p>/* Multisite */</p>
<!-- /wp:paragraph -->

<!-- wp:paragraph -->
<p>define( 'WP_ALLOW_MULTISITE', true );</p>
<!-- /wp:paragraph -->- Follow the standard steps for installing the Multisite network.
- Re-enable the WooCommerce plugin by going to the settings for all the sites under the network.
Troubleshooting Multisite Issues
Incorrect configuration of wildcard subdomains or poor domain mapping can lead to issues in the Multisite network. Ensure that your web hosts support wildcard subdomains before setting up the network.
Let’s learn about troubleshooting multiple issues beyond these two:
Login Issues on Multisite Network
If you are not able to log in to the admin area of your site, then find the following line in the wp-config.php file:
define(‘SUBDOMAIN_INSTALL’, false);
Replace this line with:
define(‘SUBDOMAIN_INSTALL’, ‘false’);
Dealing with Unconfirmed Users
To locate registered users who are not getting the activation email:
- Go to Network Admin > Plugins > Install and Activate the Unconfirmed Plugin
- Once activated, go to Users > Unconfirmed.
- You will see a list of pending unconfirmed users.
Feel free to activate users, re-send them an activation email, or delete their user account.
Handling Multisite Migrations
What if users want to break free from the network and use their website separately?
- If you don’t already have it, decide on a domain name before starting.
- Log in to the site dashboard you want to move > Tools > Export.
- Ensure the All Content option is selected > Select the Download Export File button.
- WordPress will download an XML file to your browser.
- Save the file on your desktop.
- Log in to the new location of the website > Tools > Import > Install Now (from several import options that WordPress displays)
- Once the importer is installed, select Run Importer.
- Install the WordPress XML file from earlier.
- If you do not want to change the authors, then don’t do anything when WordPress asks you if you wish to import users.
- Check the Import Attachments Options > Submit, and then you will get a success message in a few minutes.
- If your WP Multisite had custom domains, then redirections are not needed. In another scenario, use a WordPress plugin to set up redirections. Recommended Plugin: All-in-One SEO for WordPress
Wrapping Up
Using WordPress Multisite network can be beneficial if you want to build separate websites and manage them using a single dashboard. Now that you know who uses it and how, are you ready to work on this network? Let us know if you have any more questions about this WordPress feature, and we will answer them soon.
1. What is WordPress Multisite?
WordPress Multisite is a feature that allows you to manage multiple websites from a single WordPress installation, using one dashboard.
2. Who should use WordPress Multisite?
It’s ideal for blog networks, schools, businesses with multiple branches, government departments, and developers managing numerous similar websites.
3. What are the benefits of WordPress Multisite?
It centralizes updates, user access, and theme/plugin management, and it simplifies website administration across multiple sites.
4. How do I enable WordPress Multisite?
You can enable it by editing your wp-config.php file and adding a specific line of code before completing the setup in your admin dashboard.
5. How do I back up and restore a WordPress Multisite?
Use a backup plugin that supports Multisite, schedule automated backups, and test the restore process regularly to avoid data loss.


