Table of Contents
Many people who have made alterations to their WordPress website and then experienced unexpected breakdowns do not necessarily mean that they were the only ones. This is where installing a WordPress staging environment setup comes in handy.
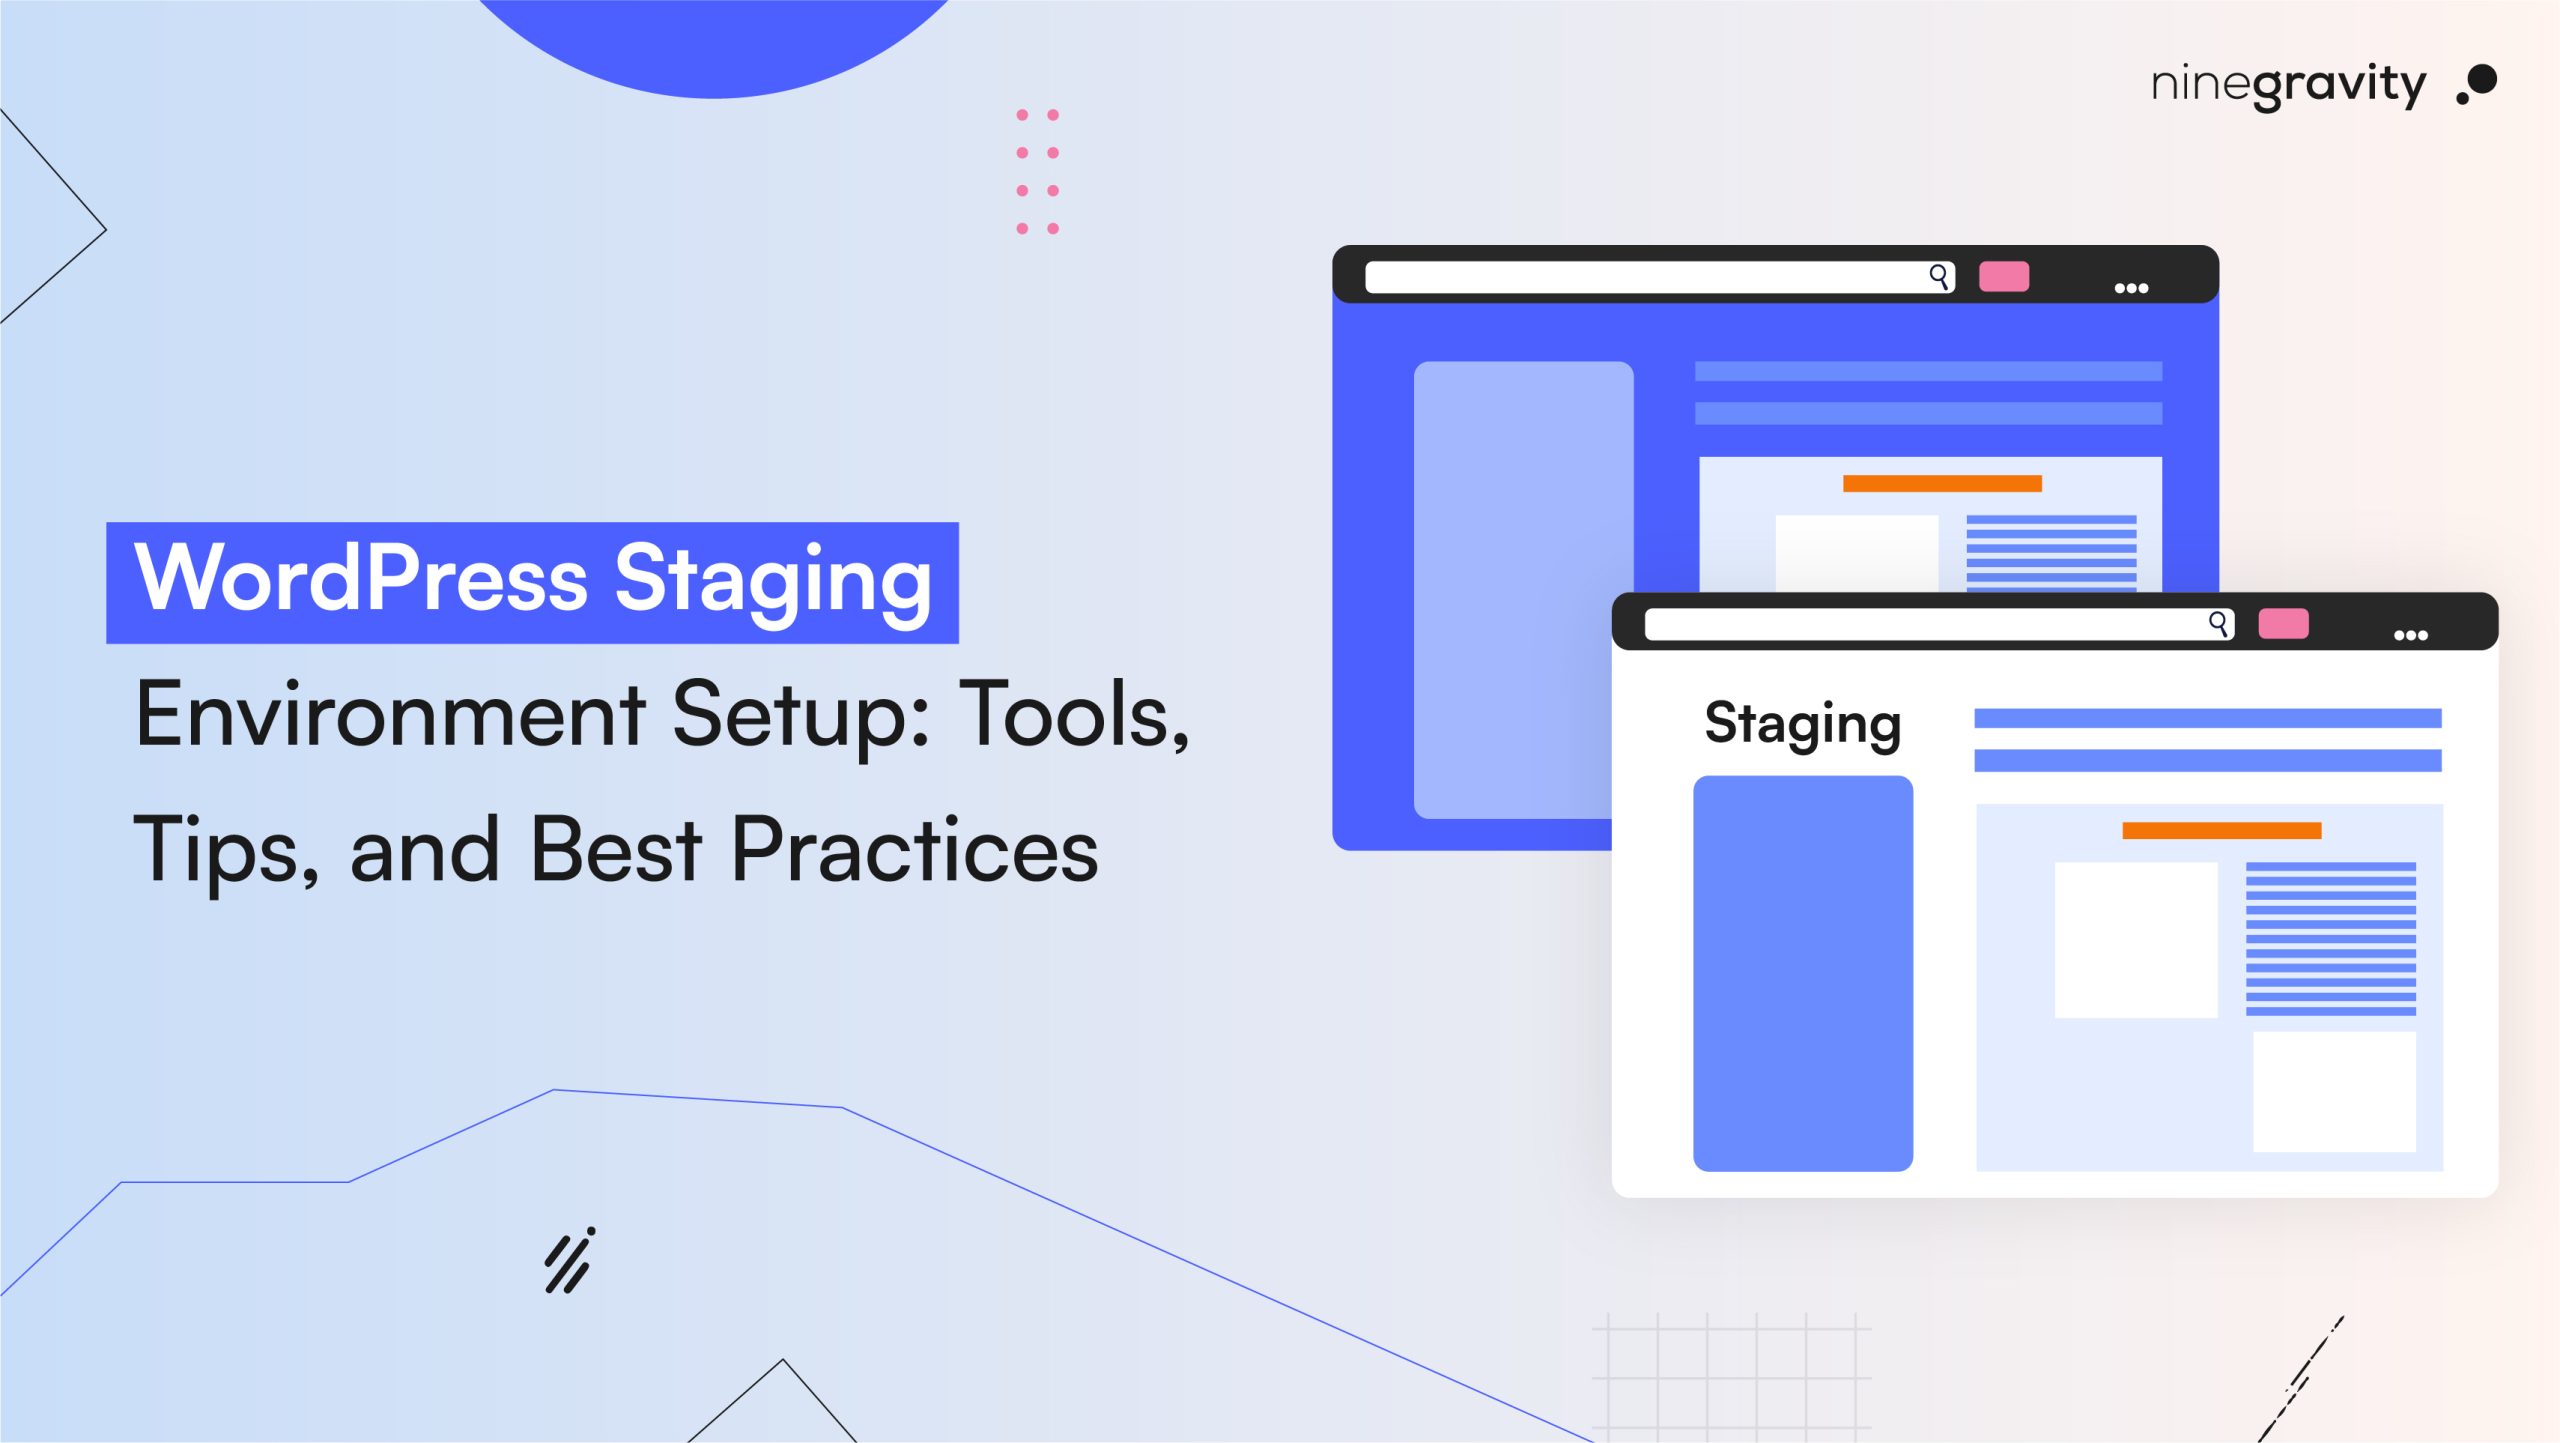
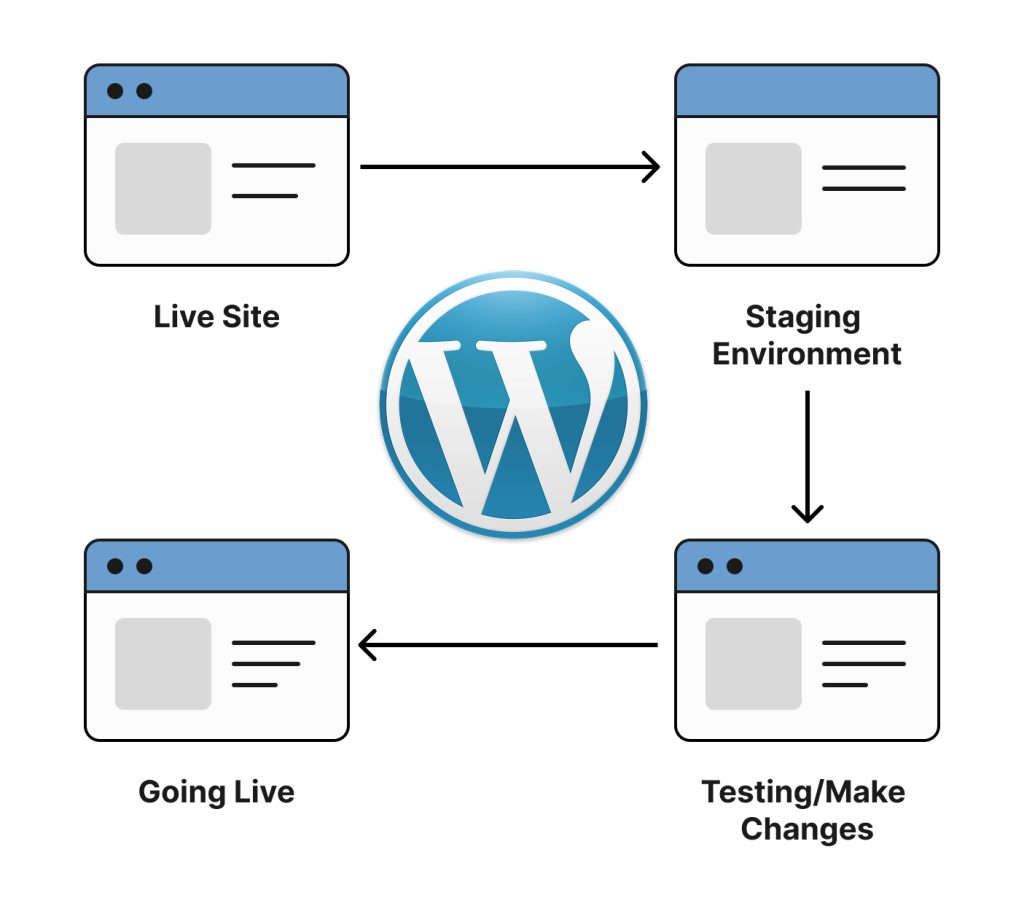
A staging environment of WordPress is a place that, when compared to a lab, enables testing of new designs, plugins, themes, and updates. The changes you make can be run without affecting your live site. With this practical guide, we will be discussing the great things that will help you set up a staging environment in WordPress with the help of the tools you need and how you can avoid problems that may arise. This step-by-step guide is suitable for both novice and expert developers, as it will be straightforward and stress-free due to the use of WordPress.
WordPress Staging Environment Setup: Revision
A WordPress staging environment is like a copy of your real website, made just for testing. It’s a safe place where you can try new things, like changing designs, updating plugins, or adding features, without messing up the live site that visitors see.
At NineGravity, we use WordPress staging all the time. It helps us make sure everything works perfectly before making any updates live. That way, your users always have a smooth, error-free experience.
What Is the Reason for Setting Up a WordPress Staging Environment?
In the case of a blog enterprise or a commercial online presence, the activity of altering your live website generally bears the consequences of the causes:
- Broken layouts
- Plugin conflicts
- Downtime
- Lost leads or sales
With a WordPress staging environment in place, you can have a thorough experiment before the changes are formal and thus reduce the chances of interruption and, vice versa, of the experiences of your users.
Advantages of a WordPress Staging Environment Setup
- Safe Experimentation – Attempt new themes, plugins, or custom code without any risk.
- Performance Evaluation – Gauge the speed of your site and observe the compatibility of your plugins.
- No Downtime – Users will be able to continue using your site with no visible changes or interruptions.
- No Risk on Updates – Carry out the tests of the WordPress core or individual plugin updates without causing any damage.
- Rest Assured – A bug is served, and it means you can eliminate it before anyone notices.
Techniques to Get a WordPress Staging Site
There are several options available for setting up a staging site. Below are some of the most commonly used and beginner-friendly methods:
1. Use a WordPress Staging Plugin
People say it is the smartest and most accessible way to achieve your goal as the plugins have simplified an entire process, and nowadays, configuring a staging site becomes as simple as 1-2-3-5. These plugins can prepare a staging environment in just a few clicks:
Major WordPress Staging Utilities:
- WP Staging – Owned by the largest customer base, it is the most popular one, and it not only clones the whole website but also creates a separate login for the staging site.
- Duplicator – It is the most useful stage because when a person backs up their site with it, it can also be a backup site.
- BlogVault – It is an infrastructure that is included in the whole package of staging, backup, and migration.
The Steps Include:
- First and foremost, you need to go to the WP Staging menu under the site manager and then press “Start Staging.”
- Create a new staging site by providing its name and starting the cloning process.
- The /wp-admin directory at the end of your new site’s URL will lead you to the admin access of a separate URL.
- Without any problems, your newest WordPress website should let you log in with its theme and plugins.
In case you still do not find the login details of your staging environment, most plugins in the market will offer you an auto-generated login URL right after the completion of the setup.
2. Staging Features for WordPress Website Hosting
Many managed WordPress hosting providers offer in-built staging environments. This is usually the easiest and most secure option, particularly for beginners.
Hosting providers that support WordPress hosting staging:
- WP Engine – Provides a bullet-proof WP Engine staging environment tool.
- SiteGround – Offers 1-click staging creation.
- Bluehost – Provides staging features in its WordPress plans.
Steps:
- Log in to the hosting account dashboard.
- Find the staging section.
- Click “Create Staging Site.”
- Access the staging site via the host’s control panel.
3. Manual WordPress Staging Environment Setup (Advanced)
With the hosting provider of a subdomain or subdirectory on your server at your disposal, developers and technically advanced users are able to establish a WordPress staging environment manually.
Steps:
- First off, you have to create a subdomain (with the name of staging.yoursite.com, for instance).
- From there, move everything from the live site to the subdomain directory.
- The next step is to perform the database export/import via phpMyAdmin.
- Change the wp-config.php file with the new database credentials according to the situation.
- Then proceed with the settings where you will have to select “Discourage search engines from indexing this site”.
Although it gives you the ability to take full control, doing it manually exposes you to higher chances of errors, and may not be the best option for beginners.
How to Create a Staging Site in WordPress (Quick Overview)
If you follow the steps below, you should have no issues setting up a WordPress staging environment … a matter of a few clicks:
- Choose your method: plugin, hosting, or manual.
- Back up your live site.
- Create the staging environment.
- Access and test your staging site.
- Make necessary changes or updates.
- Push the changes live (most plugins or hosts allow 1-click deployment).
Best Practices for WordPress Staging
- Always Back Up before creating a staging site or making changes.
- Use Password Protection on your staging site to block unwanted access.
- Label clearly to avoid confusing staging with live sites.
- Sync Carefully – Only push-tested and approved changes to production.
- Monitor Performance – Test loading speed and mobile responsiveness in staging before going live.
Q: How to create a staging site in WordPress easily?
Choose a plugin such as WP Staging or your host provider’s staging feature. It usually takes a few clicks.
Q: How to access the WordPress staging site?
You have to find the option in the staging submenu of your plugin or hosting account. In most cases, you get a direct link to a subdomain of the live site.
Q: Will search engines index my staging site?
If you want to prevent access to your staging site by search engines, then be sure to configure it as “noindex”. Otherwise, it can lead to SEO issues because of the duplicate content on your main and staging sites.
Q: Can beginners use WordPress staging?
Absolutely! You don’t need to be a tech expert to use WordPress staging. Many hosting providers offer one-click staging features, and plugins like WP Staging make it easy to create a copy of your website for testing purposes. It’s a great way for beginners to safely try out changes without affecting the live site.
Why NineGravity Recommends Staging Environments
At NineGravity, we are always in favor of creating a staging environment even when minor changes are required. This practice has become increasingly important in modern web development because it is the place where bad decisions are voided in a timely and cost-effective manner. Whether you want to become modern, update your plugins, or give a new shape to the site, the staging area is always there for testing, reviewing, and then going live with confidence.
Concluding Remarks
One cannot go without generating a WordPress staging area that makes the website stable, and that goes for everyone who is interested in the website’s success. In case you’re wondering, setting up via a plugin, hosting provider, or manually provides several benefits such as safer updates, zero downtime, and improved user experiences.
You have been able to cover the whole setup process of a WordPress staging environment with this guide. Instead of waiting for an error that will cause you to wish that you had tested, be smart, make the setup of a staging website your priority today, and be the master of your WordPress development process.
Would you like assistance with setting up a WordPress staging website or website updates? NineGravity’s team of experts is at your service with reliable support and practical solutions.